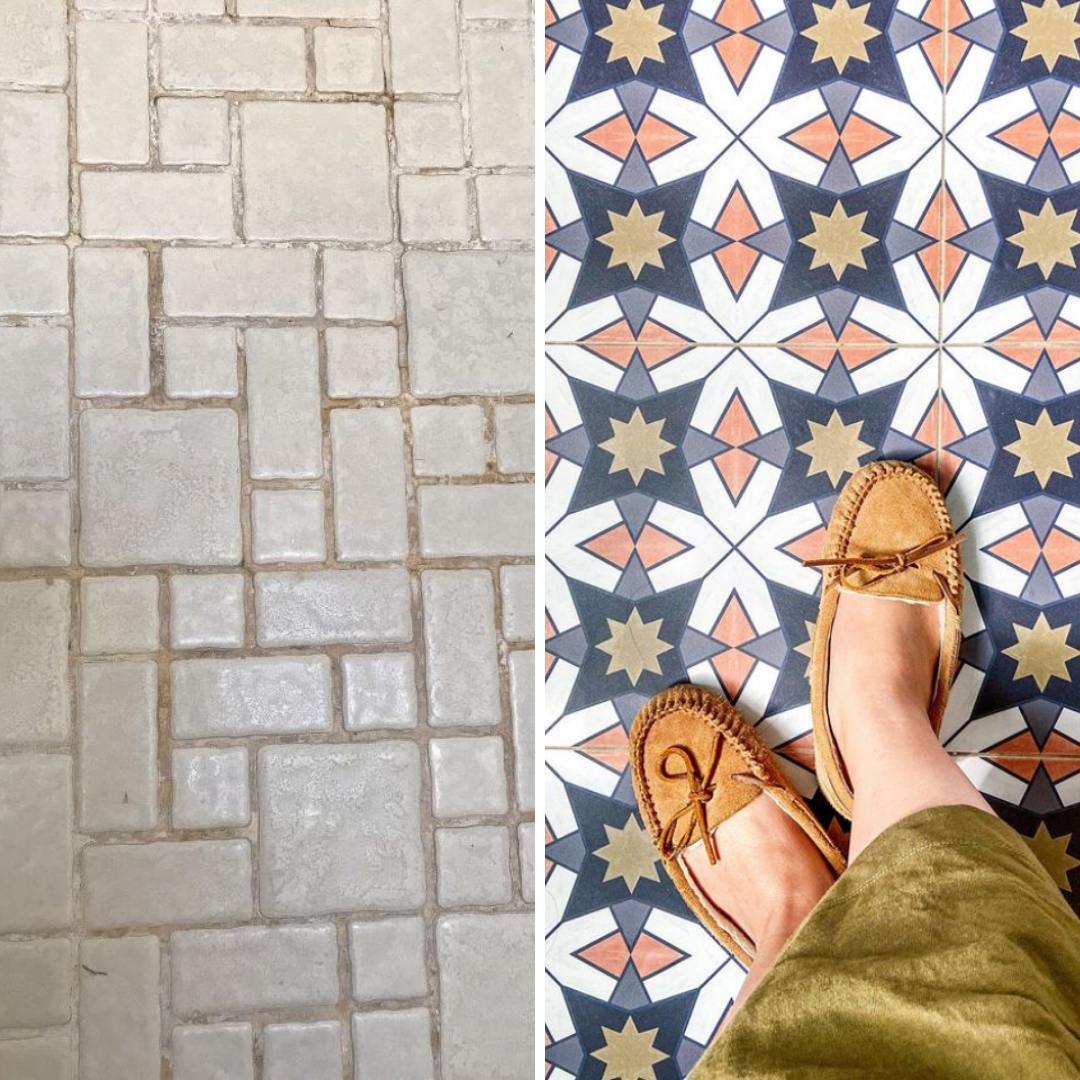
In certain contexts, mosaic tile floors can be palatial, luxurious, and show-stoppingly gorgeous. Imagine the elegant entryways to Italian palazzos, magnificent art deco mezzanines, or the indulgent environs of a Moroccan hammam. Such mosaic tiles are real works of art—a sign of beauty and emblem of opulence.
However, most of us living with mosaic tiles are not so lucky. Permanently stained grout, after all, doesn’t necessarily scream “elegance.”
The intention behind mosaic tile floors is usually sincere enough. When properly maintained, they can add quite a dynamic touch to a bathroom, foyer, or patio. But the maintenance they require is exhausting. Cleaning the grout between thousands of tiny—often uneven—tiles is not only tedious but also backbreaking! Unless you’re committed to cleaning them at least once a month, your grout will eventually become stained beyond recognition. You’ll end up with floors that constantly look dirty.


Source: Home Talk, Restore Interiors
The worst off among us are renters who have inherited these improperly maintained, stained, and sometimes dated mosaic floors. You can’t rip them out. You can’t paint over them. And good luck covering them with a rug...
However, a solution does exist! One that’s quick, easy, affordable, and renter-friendly. Keep reading to find out the easy, demo-free way to cover up those unsightly mosaic tile floors!
Covering Mosaic Floors vs. Mosaic Walls
This article specifically addresses how to cover up mosaic tiles on floors. The solution it describes is not what we recommend for covering up mosaic tiles on walls.
See our step-by-step guide to covering up textured walls.
If you read the title of this article attentively and are, indeed, looking for a way to cover up mosaic tile floors, carry on!
We’ll explain two easy ways to cover up those mosaic tile floors!
The Quick-Fix: Use Floor Panels
The simplest way to cover up mosaic tile floors is by using adhesive floor panels. We recommend this method for renters, renovation newbies, and lazy redecorators.
Floor panels are like wallpaper or giant stickers for your floors. Quadrostyle floor panels are made of smooth, adhesive vinyl and are super easy to trim at only 1 mm thick. Don’t be fooled by how thin they are, though. These bad boys are durable. They can stand up to whatever you throw at them—kids, pets, furniture—any normal wear and tear.

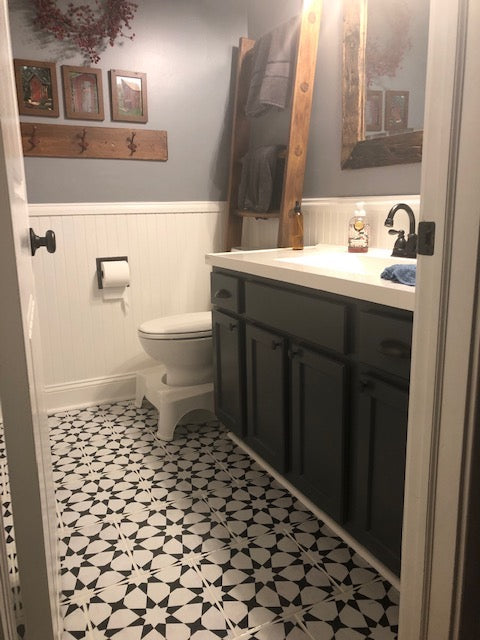
Source: @franch3sc4paulino
See how Quadrostyle Syracuse tiles transformed these ↑ mosaic bathroom floor tiles!
The best part about Quadrostyle floor panels (which measure 24” x 48” each) is that they can be easily removed. We use a low-tac adhesive that leaves no residue and peels off as easy as it sticks on. That means that renters can get the look they want without breaking any tenant rules!
NOTE: We recommend using floor panels and not tile stickers because they are easier to install on a textured mosaic tile floor and easier to maintain. Floor panels have fewer joins over the grout, where water can seep in and weaken the stickers.
To compare, here are tile stickers over grout. Notice the gap at the grout where water can get trapped.

Simply measure the floor's surface, trim your stickers to size, and peel-and-stick them into place!
Read the step-by-step guide to installing Quadrostyle floor panels.
However, because mosaic tiles are irregular and floor panels are thin, you might still see a relief. Remember, this is a quick-fix solution, so it’s not going to be 100% perfect. In the pictures below, you can see for yourself what kind of results you can expect from applying floor stickers directly to mosaic tile floors. The relief is visible under bright light.


Source: Sarah H.
To make sure the relief shows as little as possible, we recommend choosing a bold-patterned floor panel. That's what DIY queen Alexandra Gater did when transforming her bathroom!
Watch how she used our starry night floor panels to hide pesky grout lines! (start: 3:55)
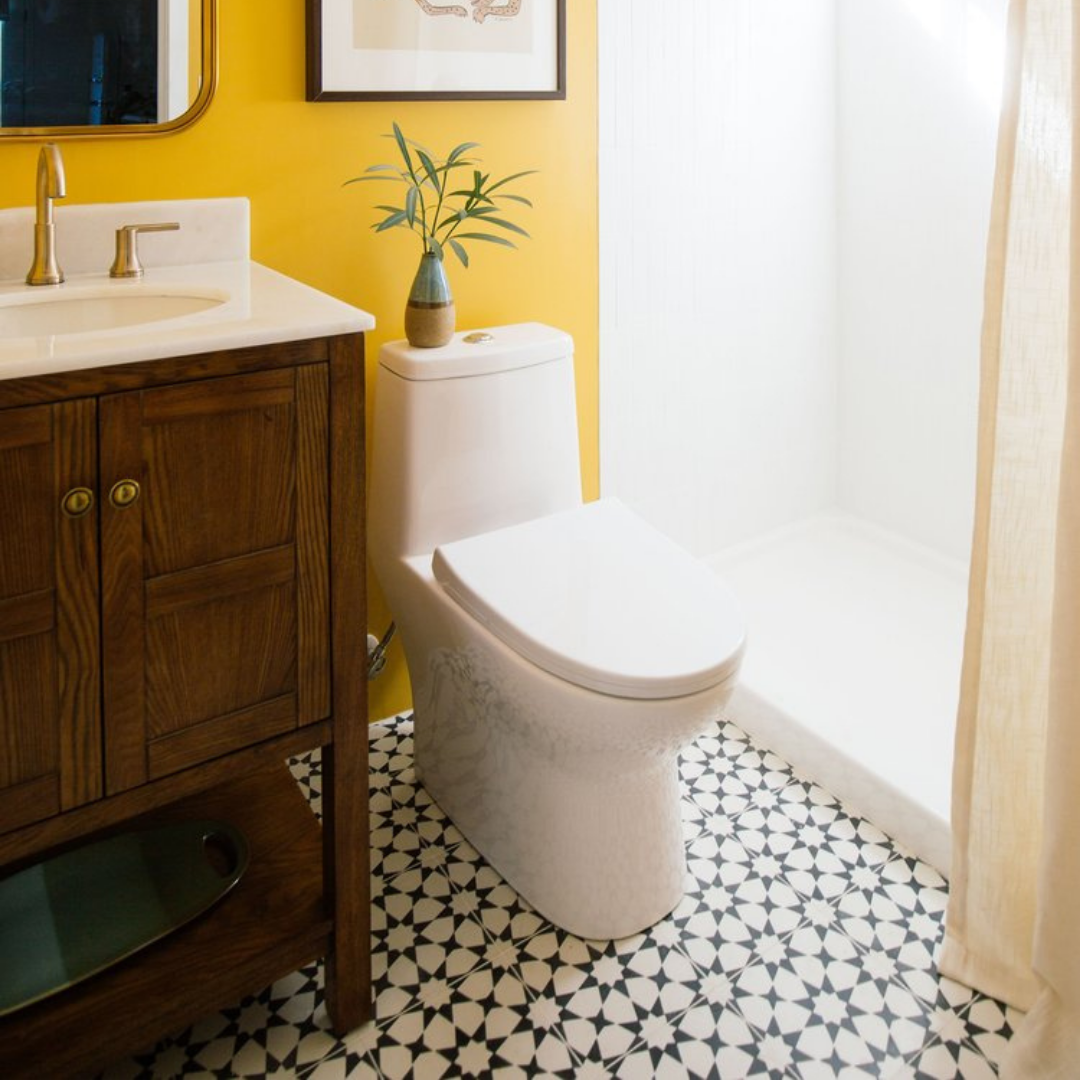
We recommend strong patterns and colors because they distract from the minor contours that result from covering mosaic tiles. Many Quadrostyle designs, in addition to Starry Night, do a good job at disguising fine lines. Sierra, Maximus, and Jocasta are a few examples.

Source: @litosupplyco
Go One Step Further and Add Sheet Vinyl
If you are feeling extra motivated and have a super sharp, reliable utility knife on hand, you can minimize the chance of a relief showing through by installing sheet vinyl beneath your adhesive floor panels. This method is also recommended for renters but involves more time and effort than merely sticking on floor panels.
Sheet vinyl flooring is durable, easy to install, and easy to maintain. You can find it at pretty much any big box hardware store, like Home Depot or Lowe’s, where it is sold by the yard. Sheet vinyl is thicker than floor panels (1 to 3 mm average) and does an excellent job as smoothing out the edges of a mosaic tile floor. However, sheet vinyl doesn’t always come in the prettiest patterns, so we recommend you cover it up them with floor panels.
This travertine tile-style sheet vinyl is 2.4 mm thick, has a smooth finish, and costs $0.99 per ft2 from Home Depot.

Source: The Home Depot
Here’s how to cover mosaic tile floors with sheet vinyl and floor panels:
Step 1: Measure & Cut Your Sheet Vinyl
Measure the sheet vinyl to match the dimensions of your floor. Then, using a sharp utility knife, cut it to size.
Step 2: Apply Double-Sided Flooring or Carpet Tape
Using a double-sided vinyl flooring or carpet tape, line the perimeter of the surface you are covering. Then, lay additional strips of tape down perpendicular to the direction you plan to install your sheet vinyl.
This double-sided carpet tape can be used indoors and outdoors and costs $5.48 from Home Depot.

Source: The Home Depot
Here’s a helpful video to show you how to apply double-sided flooring adhesive:
Step 3: Apply Sheet Vinyl
When installing the sheet vinyl, progressively peel up the protective layer on your double-sided tape to prevent it from collecting dust and debris.
Once you’ve covered the entire surface of your mosaic tile floor, you should have a relatively smooth surface to install your adhesive floor panels.
Step 4: Measure, Cut, and Install Floor Panels
On top of the sheet vinyl surface you’ve just installed, apply your adhesive floor panels as you would on any other surface: measure, trim, and stick on. The final result should show little to no relief, and your floors will look completely refreshed!
These renter-friendly mosaic tile floor renovations are so easy to accomplish, anyone can do them. Just choose a floor panel design and get to work. Browse Quadrostyle floor panels to rev your imagination!!


Leave a comment
This site is protected by hCaptcha and the hCaptcha Privacy Policy and Terms of Service apply.