
At Quadrostyle, we are all about working with what you’ve got. That means coming up with creative solutions to transform tired rooms into cute and cozy livable spaces with minimal effort, no mess, and without hurting your wallet. So, when designers reach out to us for help, we are always eager to comply—especially when the project is a challenge!

Not long ago, Jennifer from Midwest Eclectic, an interior designer and general contractor based in Wichita, Kansas, came to us with a particular challenge she was facing with one of her clients. Jennifer was working on a renovation of a home that needed sprucing up here and there, including some heavy-duty and costly work, like repairing widescale water damage. Naturally, those bigger projects put some budgetary constraints on smaller—but equally important— zones of the house. In this case: an awkwardly situated bathroom.
Check out Jennifer’s work on Instagram @midwesteclectic!
The Challenge
The bathroom in question was large and served virtually no purpose. It was originally designed to be a laundry room, but had been converted into a full bathroom despite the fact that there were no bedrooms at all on the same floor. The laundry room was relocated to a closet in the basement.

Because this bathroom was originally intended for laundry, it was large and spacious—too spacious without a washer and dryer. As a part of the home renovation, Jennifer decided to revert this bathroom to its original purpose and turn it into a laundry room and powder bath, leaving in the sink and toilet to avoid unnecessary plumbing work.
Working on a tight budget meant that redoing the tiles was out of the question, so she turned to us for help. When we heard the homeowners’ story, we were more than happy to lend Jennifer a hand and determine which Quadrostyle products could work in this predicament.
The Quadrostyle Game Plan
The walls in the bathroom were covered with a neutral-toned staggered tile and had an unsightly inch-thick tile trim at the base.

Unfortunately, the staggered tile meant that tile stickers wouldn’t line up properly and the patterns would come out looking awkward. We recommended wallpaper panels to avoid an uneven motif. The only problem, in this case, would be grout lines. Thankfully, these tiles didn’t have deep-set grout, so it came out looking nice and smooth!
Next up: the tile trim. The tile trim Jennifer was working with was thick and bulky. Replacing it would have been ideal, but since that wasn’t in the budget, Jennifer had to do what she could with as little as possible. We recommended a solid-colored square tile sticker, which she could line up to create a cleaner looking trim.
Using Quadrostyle products, Jennifer was able to completely rehabilitate this odd room into a stylish and convenient laundry nook. Read on to find out exactly how she did it so that you can follow her example!
Step 1: Painting the Border Black
On the top and bottom borders of the tiled section of the wall, Jennifer was dealing with a thick, textured border. The face of the base trim she could cover with tile stickers, but because it jutted about an inch out of the wall, she needed to cover the top of the tile with paint.

She chose black paint to match her chosen wallpaper pattern (Astra in black) and also because it would disguise the tile’s strange texture. She also painted the rounded upper trim.
Step 2: Gather Materials for Quadrostyle Installation
Before getting to the main event, Jennifer prepared all the materials she would need to install the wallpaper panels and tile stickers:
- Multipurpose cleaner and rag
- Quadrostyle instructions
- Level
- Soft microfiber cloth for smoothing out air bubbles
- Utility knife with a sharp blade
- Pencil and scissors for trimming panels
- Quadrostyle vinyl wallpaper roll and vinyl tile stickers

Step 3: Prep the Surface
Before installing any stickers, Jennifer made sure the surface was as clean as possible and free of all dust and grime by wiping down the wall with a multipurpose cleaner and rag.
Step 4: Mark Your Plumb Lines
Plumb lines are level lines that will help you install your wallpaper panels evenly. To create them, all you need is a regular spirit level, some string line, and a pencil.
Measure out vertical and horizontal lines in the dimensions of your wallpaper panels to guide you as you stick your panels to the wall.
Jennifer used a laser level, which makes measuring and drawing lines a breeze, but is not necessary.
Step 5: Peel and Stick the Wallpaper Panels
Using the plumb line to guide her, Jennifer removed the backing of the wallpaper panel, repositioned as necessary, then smooth the sticker onto the wall using a soft microfiber cloth.

She continued with each panel, measuring and trimming with scissors as necessary until the entire surface is covered. Finally, she trimmed off all excess with a utility knife.

Because the tiles in this bathroom only cover half of the wall, we recommended installing the wallpaper panel horizontally, as that would require less trimming and provide more even coverage. When covering a full wall, though, we normally recommend installing vertically, as it makes panels easier to reposition.
* PRO TIP: Tile stickers are easy to install, but wallpaper panels can be a hassle to handle on your own. While it’s definitely possible to install wallpaper panels by yourself, having a friend to help you makes the job a lot easier!

Step 6: Apply the Tile Sticker Trim
Applying the base trim was the easy part. The existing tiles were a standard 4 x 4 inches, so Jennifer simply covered them with 4 x 4-inch vinyl tile stickers.


To apply, she had only to remove the backing of the sticker and press on over each existing tile, smoothing out air bubbles with a microfiber cloth along the way.
And voilà, a smooth and solid black trim in a flash!

The End Result
We couldn’t be more excited about the way the room turned out. Not only does it finally have a purpose, but it completely brightened up! Our Astra wallpaper added an extra pop and flash of personality to a formerly drab space.

And we aren’t the only ones impressed—just look how thrilled the homeowner was when she saw the finished product!
Get the Look
Love how this laundry room remodel turned out?
To follow in Jennifer’s footsteps and recreate this stunning look, purchase our Astra wallpaper panels and solid black square tiles.
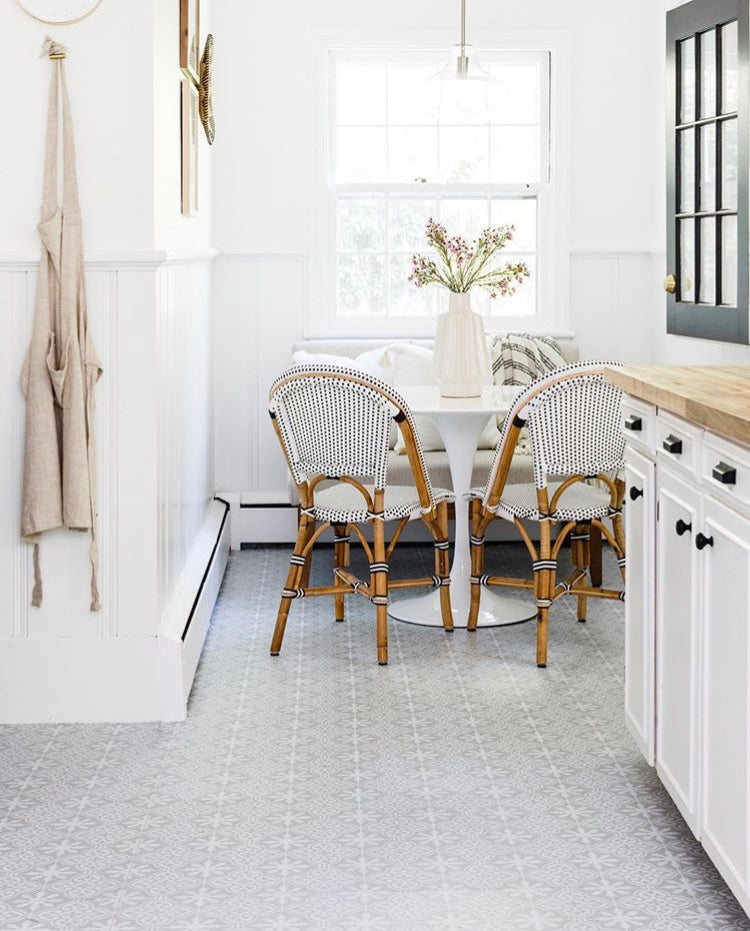
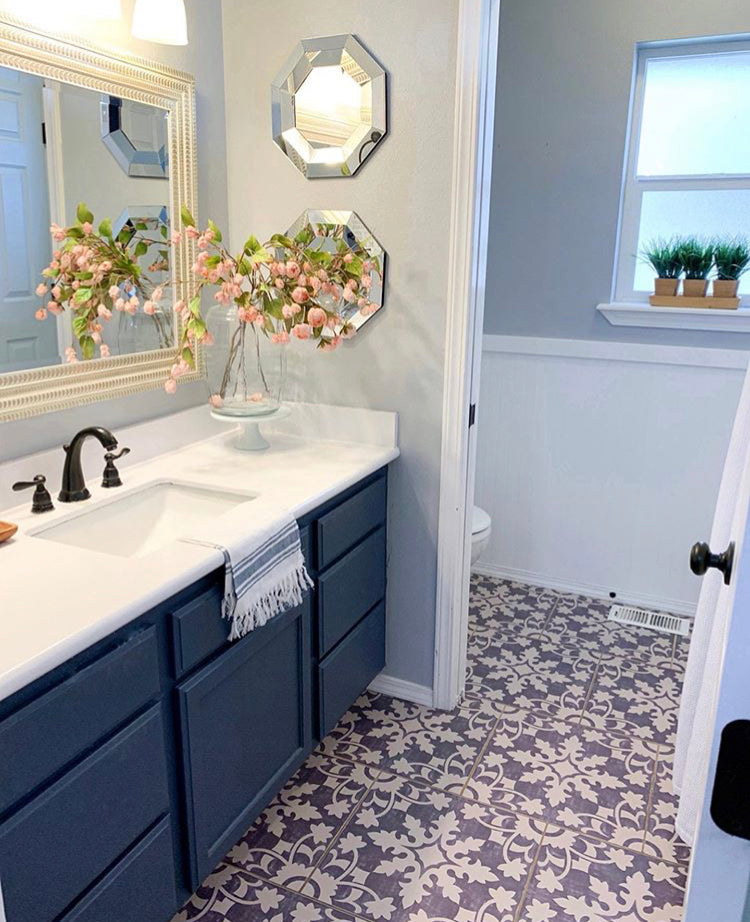
Solid color tile stickers and panels are available in 36 different colors, including neutrals, blues, greens, golds, reds, and pinks.
When it comes to measurements and order quantities, working out how much product you need can be confusing. If you need help, don’t hesitate to reach out to us! We’ll be happy to help you just like we helped Jennifer.
Just fill out this form with your project details and we’ll email you our personal advice & suggestions on what to order within 24 hours.
*All photos and videos courtesy of Midwest Eclectic
Leave a comment
This site is protected by hCaptcha and the hCaptcha Privacy Policy and Terms of Service apply.