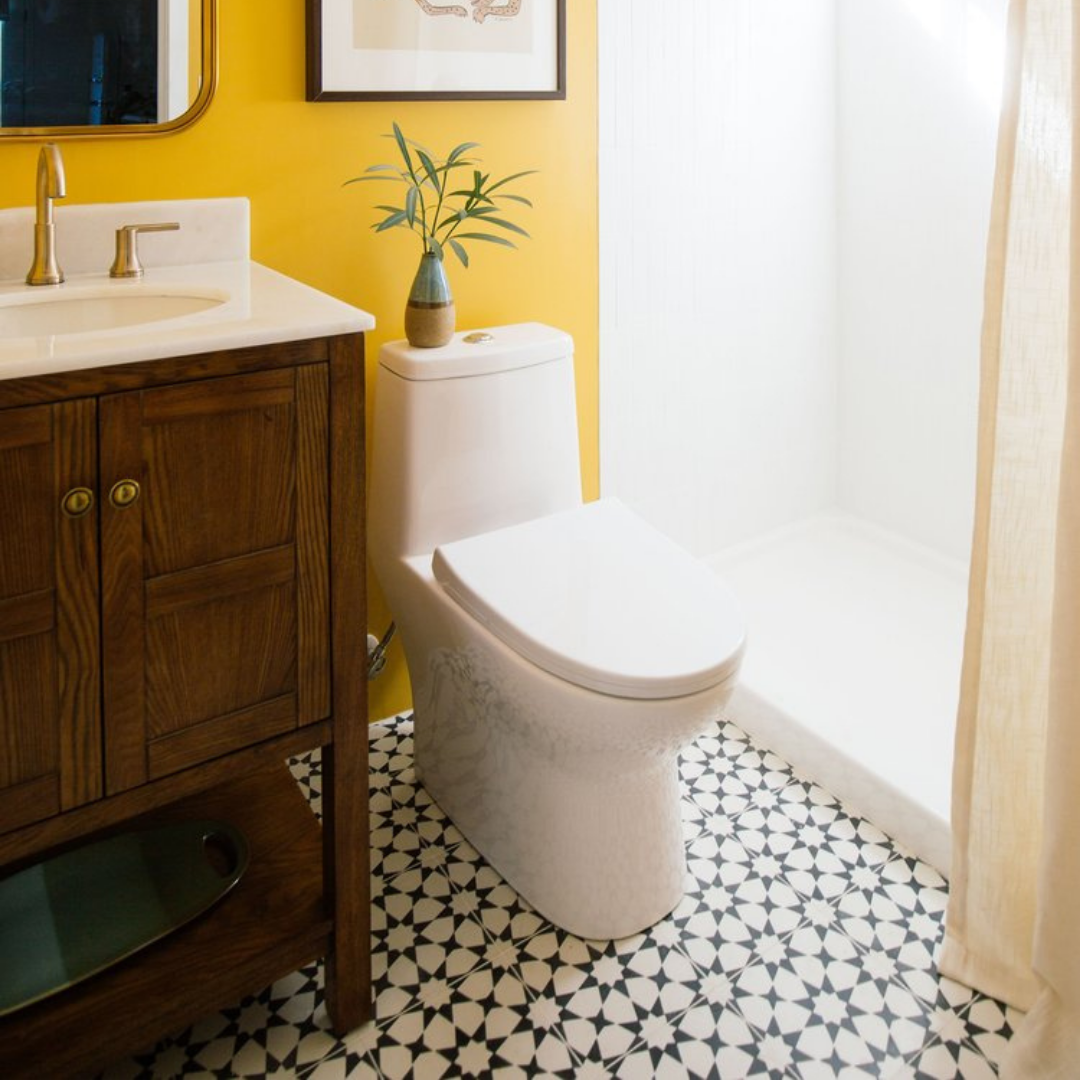
Peeling corners on tile stickers can be frustrating, but with the right application methods, you can ensure a seamless, long-lasting look. Quadrostyle tile stickers are designed with a unique adhesive that’s 100% removable—meaning you won’t be left with any sticky residue even after years of use on walls or floors. However, this removable, repositionable quality means that the adhesive isn’t as strong as permanent alternatives. Because of this, proper application is essential, and some surfaces may be incompatible. Testing your surface first is crucial to achieving the best results and ensuring the stickers stick beautifully.
Here’s a quick guide with the most effective tips to help you prevent those pesky corners from lifting.
1. Prepare the Surface
- Clean Thoroughly: Ensure the tile surface is free from dust, grease, or wax. Any residue can prevent the adhesive from sticking fully to the tile. A quick wipe with a grease-cutting cleaner will help ensure a clean, smooth surface.
- Dry Completely: After cleaning, let your tiles dry completely. Water or moisture under the adhesive can lead to weak bonding, making it easier for the corners to peel up.
2. Align with the Tile, Not the Grout
- Apply Directly on the Tile Surface: Tile stickers are designed to adhere to the tile surface only. Ensure you place the sticker fully on the tile, with no part of it sitting on the tile edge, hanging over the tile edge, or over the grout. These areas don’t provide a secure hold and can lead to lifting or peeling over time.
-
Mind the Tile Edges: Leave a 1-2 mm gap between the sticker edge and tile edge. This slight gap prevents the corners from lifting during cleaning and helps keep the edges intact for longer-lasting results.

3. Avoid Rounded or Curved Tile Edges
-
Flat Surfaces Only: If your tiles have curved or beveled edges, avoid applying stickers on those surfaces. Curved corners often lead to peeling as they don’t provide a solid surface for the sticker to grip onto.

- Consider Custom Sizing: If your tiles are irregularly shaped, Quadrostyle offers custom sizing, allowing for a better fit and easier installation.
- Trim to Fit if Needed: If you measure and find that the stickers are too large, you can trim them to size with scissors or a paper cutter. As long as all four sides are trimmed evenly, the pattern will still align seamlessly across your tiles.
How to Re-stick Tile Sticker Corners that Are Peeling Up
When the corners of your tile stickers start lifting, re-adhering them carefully can help extend their life and maintain a polished look. Here’s a step-by-step guide using two effective methods:
-
Prep the Corner
- Gently Peel Back the Corner: Use a hair dryer for a few seconds to warm up the adhesive area. This softens the sticker, making it easier to lift without damaging it.
- Clean the Surface: Ensure the tile surface underneath is free from dust, dirt, or any debris that might weaken the bond of the new adhesive.
-
Choose Your Adhesive Method
- Double-Sided Floor Installation Tape: Cut a small piece of tape to fit just under the corner, ensuring it aligns with the shape of the sticker. Press down firmly to secure.
- All-Purpose Adhesive: Apply a thin layer of a compatible all-purpose adhesive to the lifted area, taking care not to overapply.
-
Trim and Re-apply
- Trim Edges as Needed: Before pressing down the corner, trim any overhanging edges to create a 1 mm gap from the tile edge, reducing future lifting risks.
- Press Firmly and Weigh Down: After placing the adhesive, press down the corner and, if possible, place a heavy object (like a book or weight) over the area. Allow it to sit for at least 48 hours to strengthen the bond.
Step 4: Apply a Silicone Sealant for Extra Protection
- Add a Barrier Layer: To reinforce the tile sticker edges further, apply a thin line of clear silicone along the tile edges and grout lines where the stickers meet. This acts as a waterproof barrier, helping to keep moisture and dust from getting under the corners.
- Allow for Full Curing: Follow the silicone’s curing time (typically 24-48 hours) to ensure it sets properly. This layer not only protects but can also help create a longer-lasting seal for tile sticker edges, especially in high-traffic or moisture-prone areas.
This final sealing step can give your tile stickers extra durability and help prevent further lifting issues.


Leave a comment
This site is protected by hCaptcha and the hCaptcha Privacy Policy and Terms of Service apply.