Cursed with generic, wooden kitchen cabinets? You know the ones we mean—usually oak, might feature a chunky molding, popular in tract homes and rental units...
These cabinets were so ubiquitous in their heyday that they now give off a distinctly dated vibe that is not doing your kitchen (or the rest of your home) any favors. Plus, they are so offensively generic that they neutralize any attempt to modernize or beautify your kitchen that doesn’t directly involve them.


Image: @alexandragater
Get the look:
But, there is a bright side! These plain-jane wooden cabinets just so happen to be perfectly ripe for painting! Painting wooden kitchen cabinets is a cost-effective and easy way, not only to bring your kitchen into the modern age, but to add a fun color pop that will inject your home with personality and flavor. It’s a great option for renters, as well as a budget solution for homeowners who are holding off on a full kitchen renovation.
With just a few coats of paint, you’ll be amazed at how your once boring kitchen cabinets transform into an enviable, eye-catching centerpiece. Read on for step-by-step instructions, helpful tips, and our suggestions for choosing a backsplash to go with your brand new painted cabinets!
Color Pop or Keep it Neutral?
Painting your cabinets a color—whether it be bright, neutral, or even black—adds welcome contrast to your kitchen and bring it into the modern age. Colorful cabinets have never been as trendy as they are right now.
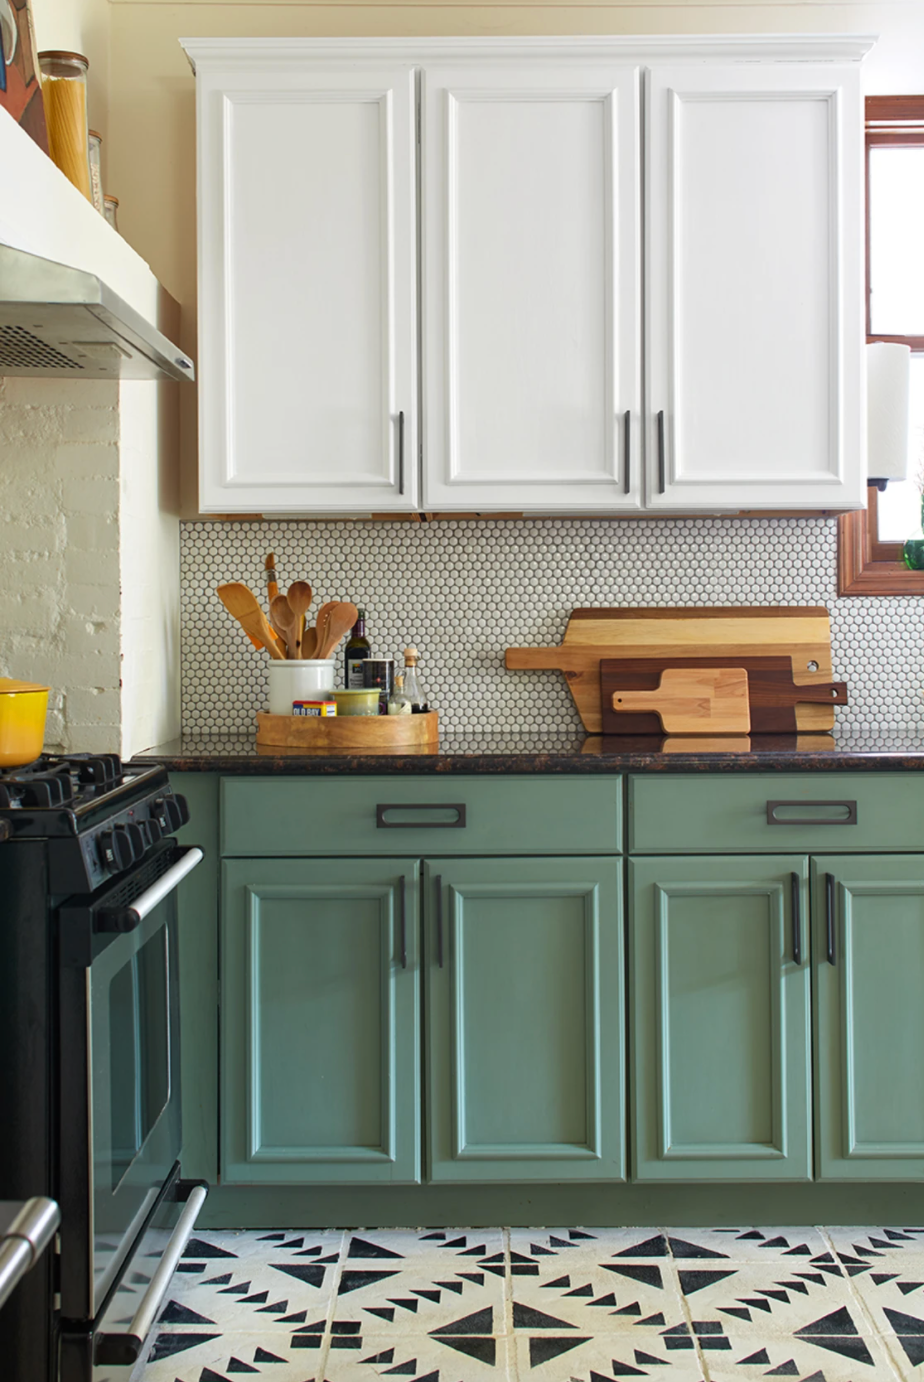
One color that is particularly popular is green. Green is ubiquitous in modern kitchen design, not in the least because it is so incredibly versatile. It is also a great foray into the world of color because it can be bold, while staying in the realm of nature. There are also so many different shades of green to play with. For example, light greens are peaceful and neutral, olive green is funky and eccentric, and dark, forest green is earthy and strong.

Image: @alexandragater / @dabito / Pinterest
Get the look:
Painting your wooden cabinets could also be your chance to show off a bolder decor look with a more unconventional color.
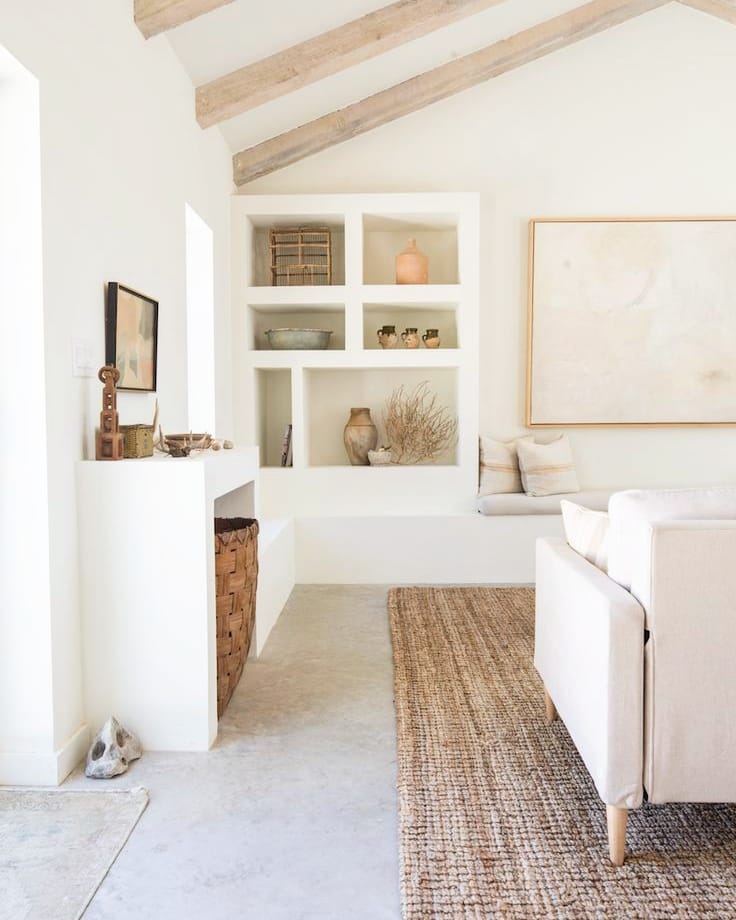
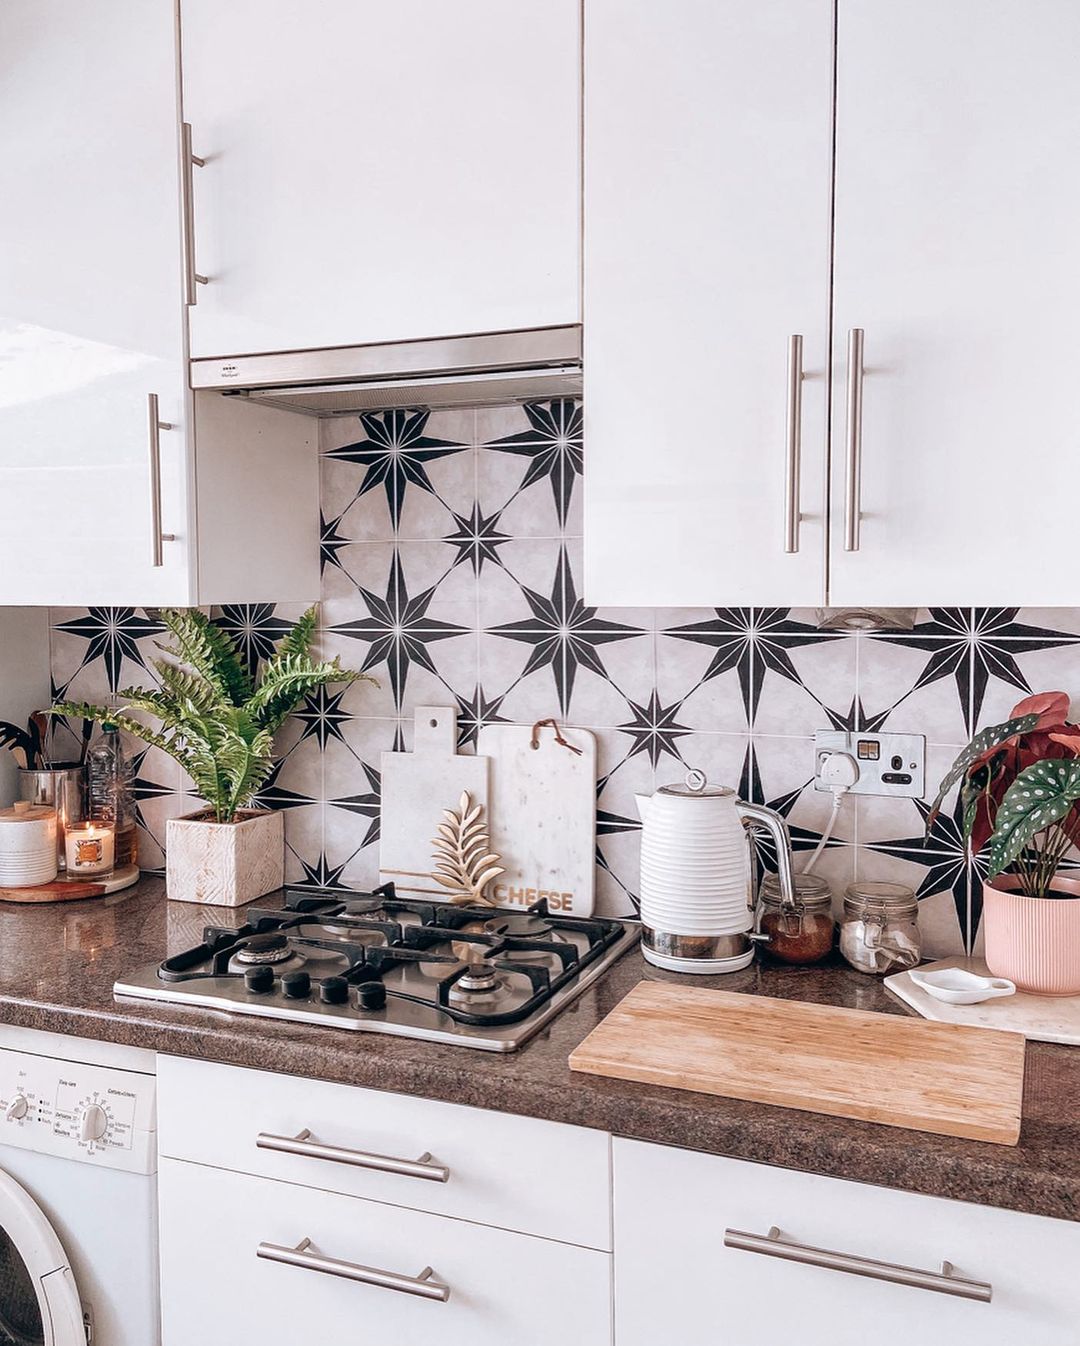
However, if a color pop isn’t for you, you can’t go wrong with black and white or a classic, neutral tone. Warm whites and bony grays, for example, are both timeless and trendy.

Image: Lexie Alexandra / My Domaine / Apartment Therapy
Get the look:
The Step-by-Step Guide to Painting Wooden Cabinets
Before you undertake this project, there are a few things to consider. First, you should know that painting wooden cabinets takes at least a couple of days. The process isn’t difficult, but it is tedious, and you’ll need to allow time for paint to dry thoroughly. A weekend should be adequate for you to accomplish this DIY project.
Keeping in mind that paint is toxic, and even low-VOC paint is harmful if ingested, you'll need a well-ventilated area for painting. A garage, warehouse, or driveway are ideal settings for painting your cabinet doors. If you live in an apartment and don’t have access to such spaces, make sure you leave your windows open while painting.


Image: Apartment Therapy
Get the look:
If your cabinets are surrounding the stove or oven, you should start off by cleaning them with a degreaser. Any leftover grease stains will leave traces in your paint.
Finally, please note that these instructions are for unpainted wooden cabinets. If you wish to change the color of wooden cabinets that are already painted, do use a paint stripper first.
What You’ll Need:
- Sandpaper
- Paint brush
- Mini foam roller
- Paint roller tray
- Optional: Sanding sponge, Paint sprayer, Cloth, Wood filler,Putty knife
Step 1: Remove Cabinet Doors
Unscrew the cabinet doors and hinges. Put screws, hinges, and knobs in plastic bags. Make sure to label the doors with painter’s tape so you know where to put them back.
Step 2: Sand
Using a medium-to-fine-grain sandpaper, scuff up the surface of your cabinets. This helps ensure that your primer goes on smoothly and sticks. It is also useful for eliminating any apparent wood grain. If your wooden cabinets have a trim, use a beveled sanding sponge to access hard-to-reach nooks and crannies.
If the surface of your cabinets has any nicks or scratches, this is the time to use a wood filler and a putty knife to fill them in. Allow the wood filler to dry completely, then give it a once-over with sandpaper to make sure the surface is smooth.
Once you are finished sanding, use a paint brush, clean cloth, or vacuum to wipe away any dust.
Step 3: Apply Primer
Paint primer is absolutely crucial to painting wood cabinets. By incorporating ingredients like latex or oil, primers create a moisture barrier between wood and the decorative top coat, preventing mold, mildew, and rot. It also ensures good paint adhesion for the top coat and prevents bubbles, peeling, cracking, and chipping.
Two reliable paint primers for wood we recommend are KILZ Original Multi-Surface Primer and Rust-Oleum Zinsser Bulls Eye 1-2-3, both of which are widely available at major hardware stores like Lowe’s and Home Depot.


Image: Lowe's
The best way to apply primer is by using a paint sprayer, the benefits of which include even coating, no brush strokes, and easy access to nooks and crannies. However, it comes with the downside of being very messy. If you go the paint sprayer route, you’ll need lots of sheet plastic to protect your work surface, plus a reliable mask to prevent you from inhaling toxic paint particles.
If spraying on your primer sounds like more work than you are willing to put into a budget renovation project, don’t worry. A mini foam roller works too. Where possible, avoid using a paint brush because you don’t want to leave brush strokes.
Coat both sides of the cabinet doors with the primer and allow to dry.
PRO TIP: Drill holes for screw hooks into the top of your cabinet doors and use the hooks to hang your doors from a coat hanger. This will make application and drying a breeze!
Step 4: Paint Your Doors
Once your primer is dry, apply two coats of your chosen paint to cabinet doors using a paint sprayer or a mini foam roller. As with your primer, use a paint brush to access corners you may not be able to reach with your roller.
Allow your cabinets to dry fully.
Step 5: Tackle the Frame
While waiting for your cabinet doors to dry, repeat steps 2-4 on your wooden cabinet frame. Start by scuffing up the surface with sandpaper, then eliminate dust. Prime, paint, and leave to dry.


Image: SG Style Blog / Better Homes and Gardens
Step 6: Hang the Doors
Once the paint on the frame and the doors is dry, re-assemble your cabinets and take in the beauty of your just-like-new kitchen!
Tie Together Your New Look with a Fun Backsplash
Now that your cabinets have had a fresh paint job, all you need is a complimentary backsplash to complete the new look! Quadrostyle backsplashes are a great option for easy kitchen renovations because they are budget-friendly, easy-to-install, and made of durable vinyl.
Like the looks you saw in this article? There's plenty more where that came from! Browse all of our backsplash stickers to find the perfect design to go with your newly painted kitchen cabinets!

1) Katano in Charcoal 2) Raspail 3) Hexa in Black 4) Palma in Red Earth 5) Chevron Wood 6) Agadir in Black 7) Castelar 8) Kasbah 9) Zeus
Shop Backsplash Stickers →
📍Pin this article!

Leave a comment
All comments are moderated before being published.
This site is protected by hCaptcha and the hCaptcha Privacy Policy and Terms of Service apply.