Don’t know if you’ve noticed, but tiles are kind of our thing.
We love the way they can change the look, feel, and personality of your home, but we know that they can be an utter headache to install...not to mention expensive. We also know that not everyone has the luxury of even considering making such big changes to their abode. Renters, we’re looking at you.
For those of you who dream of gorgeous tile floors, but are being blocked by one or more of the reasons above, we’ve got a solution. Floor panels are large, durable vinyl stickers designed to cover smooth, non-porous, non-tiled floors. They feature a tile motif and printed grout lines to mimic the look of real tiles and do a darn good job, too, if we may say so ourselves.
In this article, we’ll cover everything you need to know about floor panels to help you determine whether they are right for you. We’ll even break down the installation process and show you some helpful tips to make sure that it all goes smoothly.
Why Choose For Your Home?
Floor panels are intended to cover smooth, non-porous floors. That includes surfaces like:
- Linoleum
- Vinyl
- sealed concrete
- varnished wood
- Laminate
Such surfaces are often found in rental homes because they are basic, durable, and convenient for resident turnover. Unfortunately for renters, they are also often outdated and plain ugly.
Quadrostyle floor panels are a great solutions for renters aching to cover up unsightly floors. They are also a good option for home owners who are temporarily unable to take on the cost of a full renovation. When installed properly and well maintained, they’ll last for years

Source: Iamsarajames
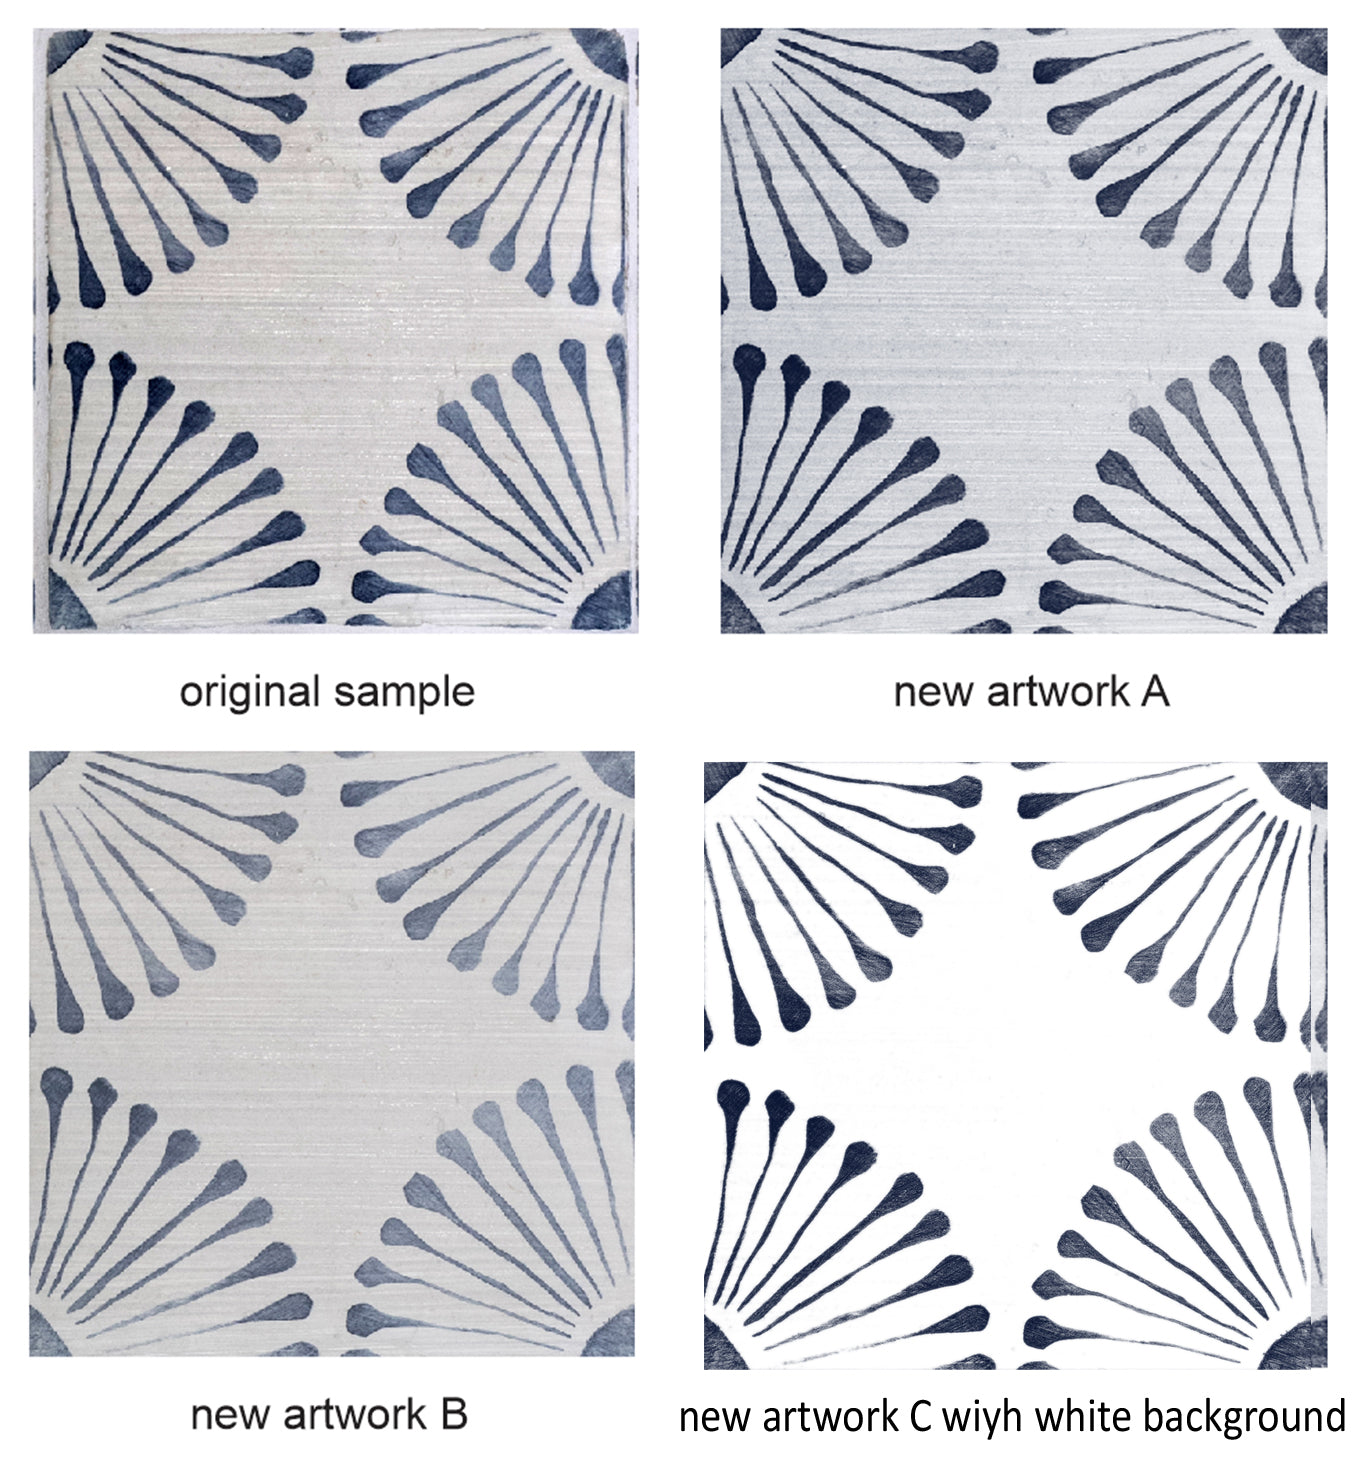
Floor panels are not for people with existing tile floors. If you already have tile floors and want to update the way they look, what you need are tile stickers.
Learn more about tile stickers in the FAQ’s under “What is a tile sticker?”
There are three reasons not to use floor panels over tiles floors.
- That’s what tile stickers are for. Why use panels when tile stickers leave the real grout exposed, resulting in a more authentic tile look?
- Grout is porous, so when you cover grout lines, you risk leaching moisture beneath the stickers, compromising the adhesive.
- Our floor panels, though sturdy, are thin, which means that grout lines may show through as a relief.
...That said, you can use floor panels to cover mosaic tile floors if you are in a pickle.
Product Specs
Floor panels are the largest products we offer, sold individually as 24” x 48” (60 x 120 cm) panels. They look pretty much identical to our wallpaper panels, but are slightly thicker (208 mils) due to a protective laminate coating.
Smooth, soft, and durable, our floor panels are able to stand up to the wear and tear of an average household. Kids and pets are no match to our super strong adhesive, and cleaning is a breeze. Wipe up messes and spills, use an all-purpose cleaner and sponge, or even clean using a mop.

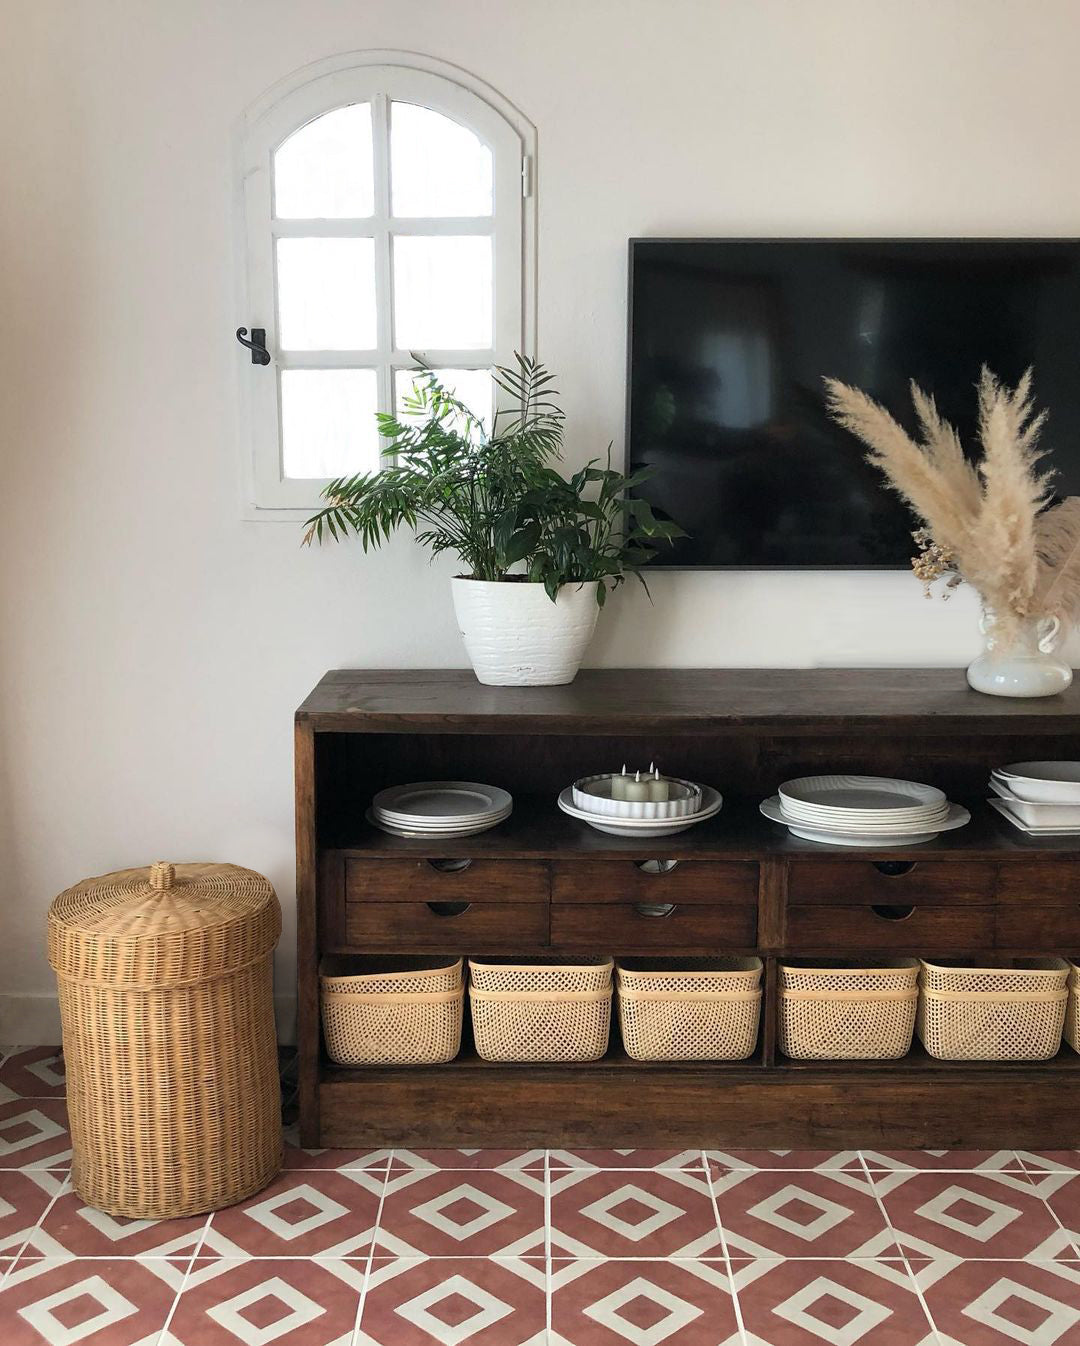
Source: @sun.soul.sea
However, floor panels are likely to tear if you drag heavy furniture or appliances over them, which is why we recommend installing all appliances before you install your stickers. We also recommend sticking felt pads on the feet of tables and chairs—anything that is likely to move around a lot.
Floor panels are also:
- fade-resistant, so they stay colorful even in the sunniest spots of the house
- water-resistant, so you don’t have to worry about spills and splashes
The low-tack adhesive backing is repositionable for precise and hassle-free installation. Then, when it comes time to remove them, they peel off leaving no gummy residue.
How to Order Floor Panels
Step 1: Calculate How Many Floor Panels to Order
Before you purchase, you will need to calculate the number of floor panels you need based on the surface area to cover. Use our surface calculator to see how many floor panels to order. Don’t feel comfortable with that? No problem, send in your details and we’ll calculate your order for you! You can trust us, we’re pros.
We are happy to custom print and cut your stickers to make installation as easy as possible. Just fill out the custom order form.
Learn more about ordering custom stickers
Step 2: Choose Sticker Size
You can shop for floor panels on our site under the category “Tile & Floor Stickers.” Select your preferred design and in the drop-down menu under “Choose a size,” select the last option, listed as “floor panel.” The other options are sizes of tile stickers, which you should only consider when covering existing tiles.
How to Install Floor Panels
Installing floor panels is pretty straightforward. Just think of it as a giant sticker. It’s definitely feasible on your own, but you might want to ask a friend or loved one to help out to make things go a bit quicker.
To give you a more in-depth look at the installation process, let’s break it down step-by-step.
Step 1: Prep Your Floors
Break out the vacuum and eliminate every last crumb and speck of dust. Little particles like these could get trapped under your stickers and result in unsightly and persistent air bubbles.


Once the little particles are gone, wipe down your floors with a mop or a damp rag and all-purpose cleaner. Make sure your floors are 100% dry before applying your stickers.
Step 2: Gather Your Tools
While waiting for your floors to fry, round up everything you’ll need to install your stickers:
- a clean cloth or dish towel for smoothing panels onto the floor
- a utility knife or a pair of sharp scissors
- a pencil for marking measurements

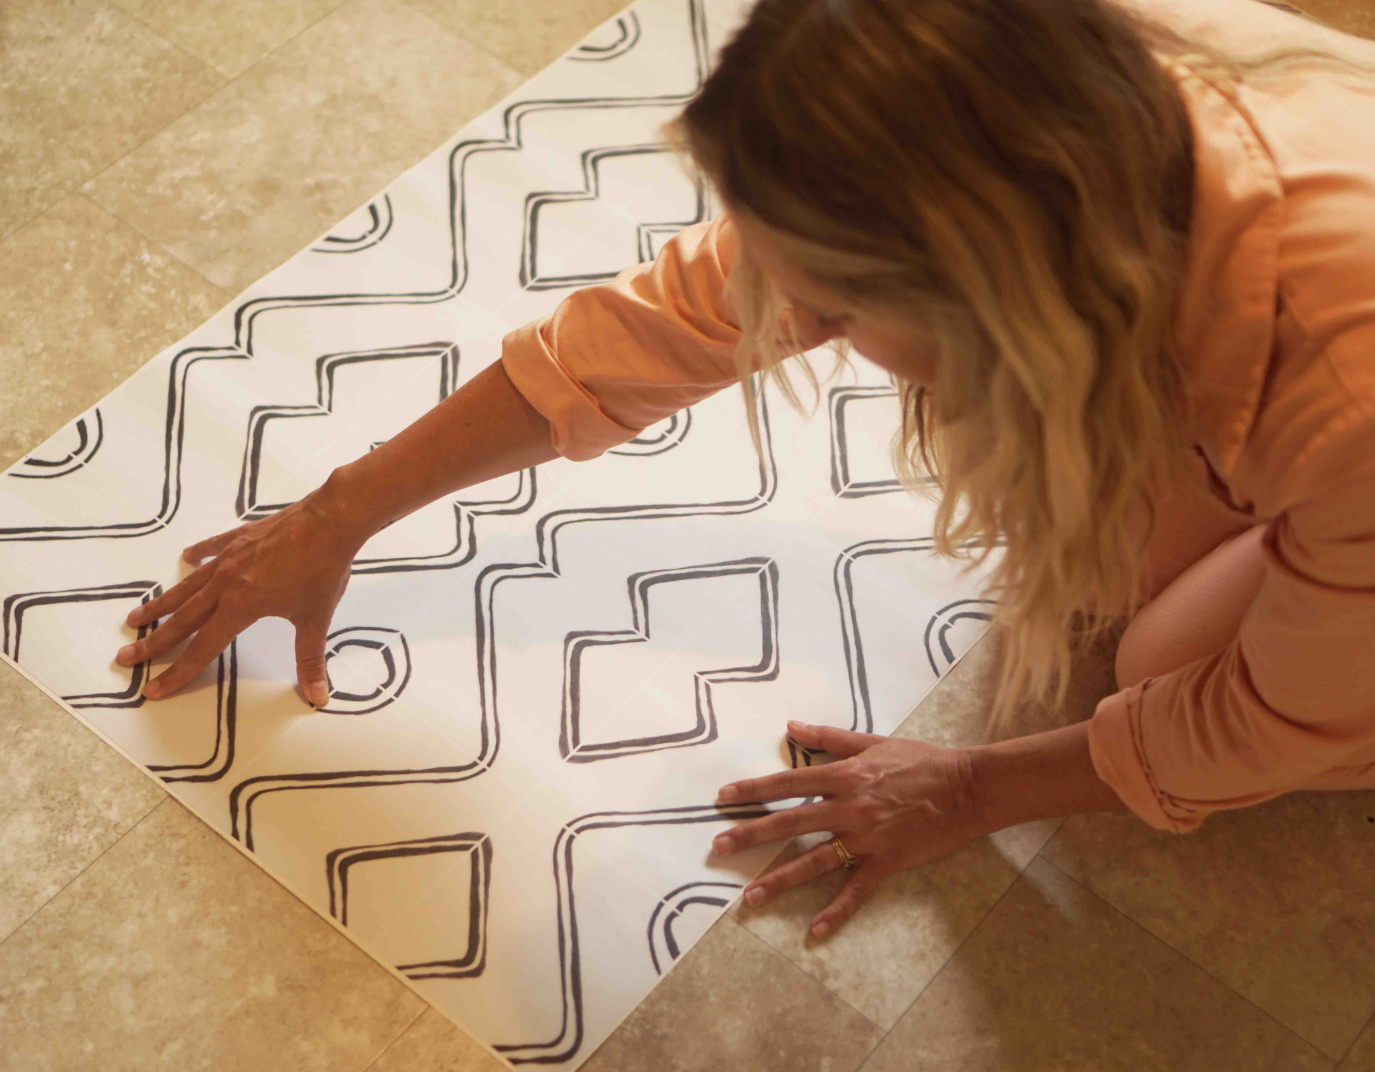
Step 3: Install the First Panel
Start in the middle of the floor so that you don’t end up with a seam right in the center of the room. Center the panel along a straight line. If you don’t have a straight line there for you on the floor, you’ll need to draw one.

To install, peel the backing of the sticker of only at the edge and line it up with your straight line. Little-by-little, peel off the backing of the sticker as you apply it to the floor. Go slow and use the cloth to smooth it out as you go. Peel up and reposition as necessary. Be sure to keep your sticker panel at a low angle as you apply. This will ensure that it goes on as smoothly as possible.
- PRO TIP: Leave your sticker panels in a warm place for 10 minutes before installing in order to soften the vinyl and make installation easier.
Step 4: Line Up Your Panels
Now that the first panel is done, you know what to do! Line up the next panel along the printed grout line on the edge of the first panel and repeat step 3 until the floor is completely covered. Leave a little excess where the sticker meets to wall to trim in step 5.

Step 5: Trim the Excess
When you reach the wall, push your stickers firmly into the crease where the wall meets to floor. Then, use the utility knife to slice along the crease. Peel off and discard the trimmings on the wall.

When applying floor panels around or under appliances, you should measure and trim the panel before applying.
What NOT to Do With Floor Panels
Finally, as durable as our floor panels are, they are a temporary flooring solution. To make sure you get the most out of your floor panels and to make sure they last as long as possible, you’ll need to follow a few simple rules.
- DON’T combine floor panels with tile stickers—they do not line up
- DON’T install anywhere water may pool, such as shower floor
- DON’T slide furniture or appliances over the stickers
- DON’T install on a hot surface or an active fireplace hearth
- DON’T install over heated floors
- DON’T install where snow or ice may melt
- DON’T scrub the surface with harsh chemicals
- DON’T apply over grout lines
- DON’T apply over porous or cracked surfaces
- DON’T steam clean
Leave a comment
All comments are moderated before being published.
This site is protected by hCaptcha and the hCaptcha Privacy Policy and Terms of Service apply.